DIY Thin Sections!
Seeing Through Rock
The crew aboard Expedition 376 are the first to shine a light on cores retrieved from an active submarine volcano.
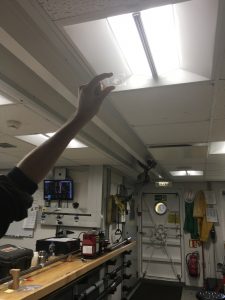
But if we really want to know what’s inside these rocks, we need to shine a light through them. To achieve this, we prepare thin sections.
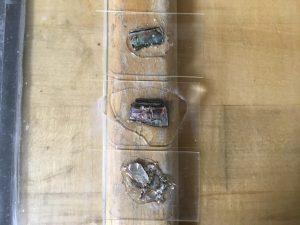
A thin-section is a slice of rock 30 microns thick. A single micron is 1/1000 of a milimetre. For perspective, a single human hair is about 10 microns in diameter!
This might sound like a challenging thing to produce, but the process is relatively simple and an approximation can be performed by anyone at home or in the classroom with simple materials!
Make your own thin-sections:
You will need:

- A sample: This can be some rock, some wood, coral or sea shells – anything you’d like to see up close!
- A glass slide
- Super glue
- Sandpaper (it helps to have a rough grade and a fine grade)
- Clear Nail polish
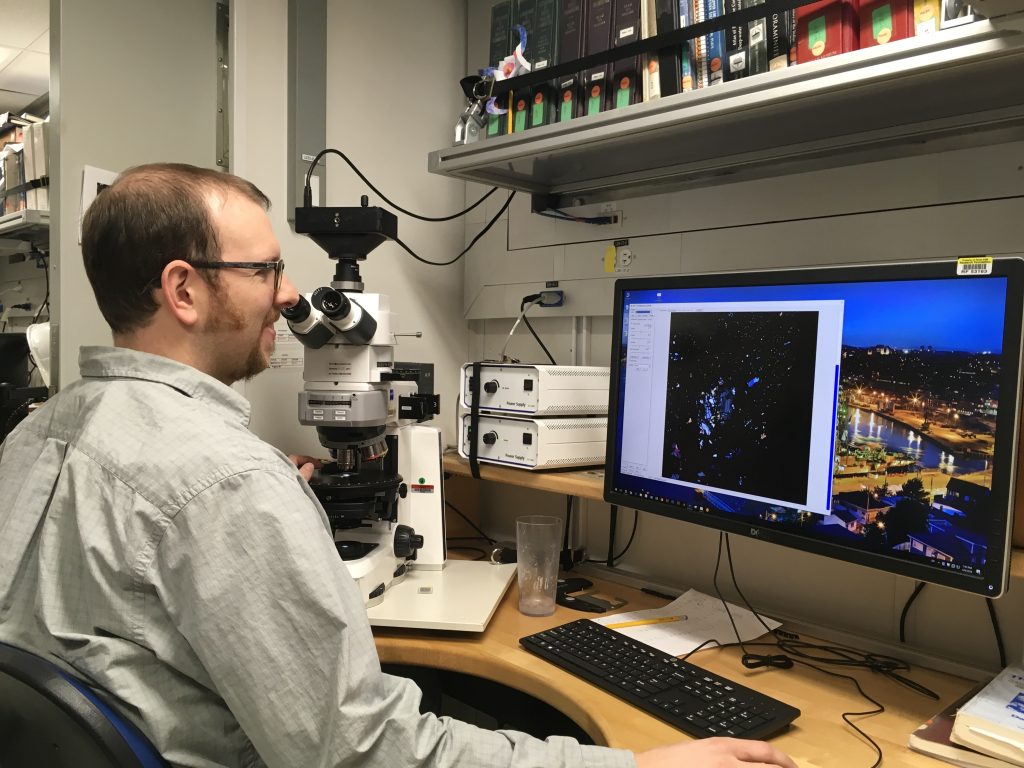
- A microscope (for best results, you’ll want to use one that has a transmissive light – a light at the bottom that will shine through the sample)
Method:

1. Place a few drops of super glue in the middle of your glass slide. Place your sample on top and press down firmly (use something like a pencil or tweezers unless you want to get yourself stuck!). Allow 15 minutes for the glue to dry.

2. Begin sanding down your sample. Use plenty of water. Mind your fingers, and wear a glove if you want to keep your nails for playing guitar or protecting your finger tips. When the sample is level with the dried glue, switch to a finer grade and keep going until the sample is thin enough for light to pass through it. Depending on your sample, you may wish to sand a little further still!
 3. Spread a little clear nail polish over the sample when you are finished. Allow 5 minutes to dry.
4. Examine your thin section under a microscope!

Identifying Minerals (with Rainbows)
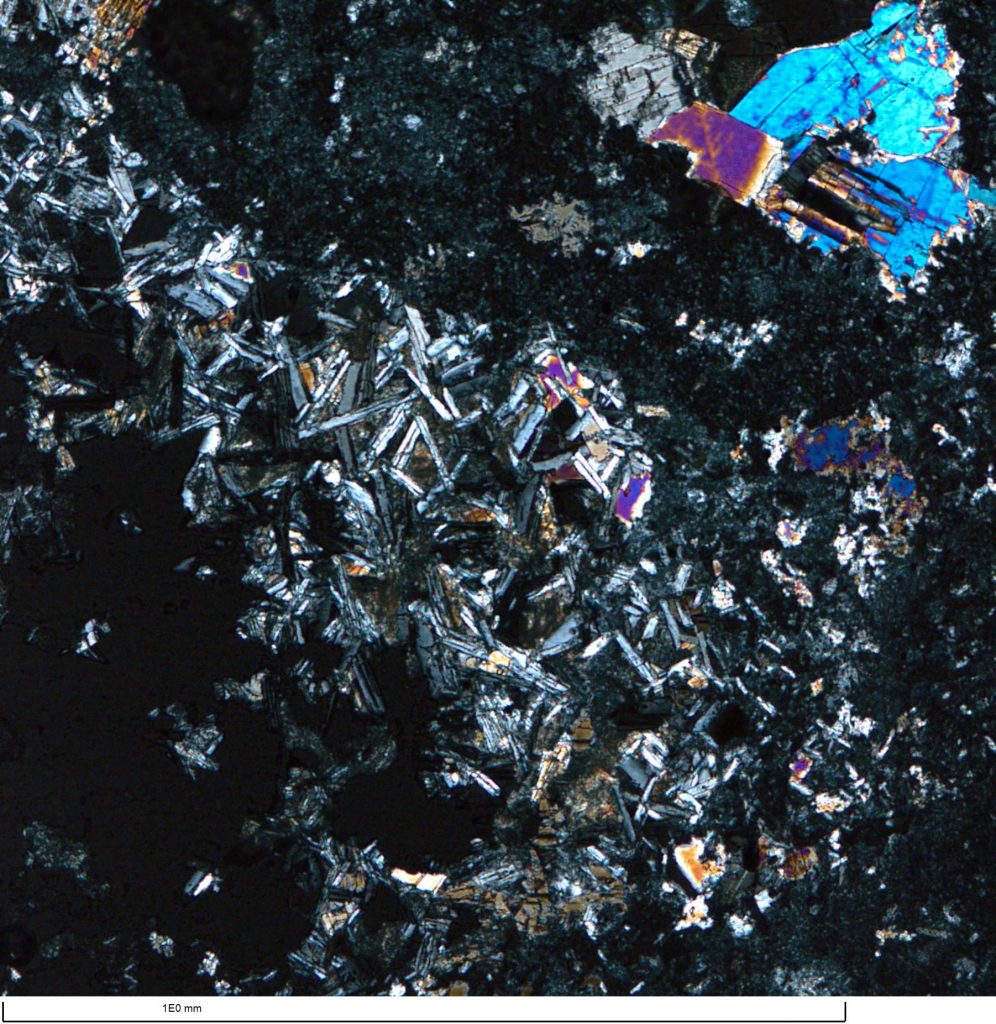
Geologists look for tiny little rainbows made by mineral crystals in the thin section to identify what is present and understand how it might have formed.
Most light you see is a combination of waves vibrating randomly in all directions. The petrological microscopes geologists use have two polarizing filters that work in a similar way to sunglasses, allowing only light waves vibrating on a single plane to pass through. When both filters are applied, all light except that which has interacted with the sample is cancelled-out, allowing the viewer to look directly at the effect of each mineral crystal on light. When the stage is rotated, the crystals pass through different colours of the rainbow. It is the order of colours in these rainbows that is key to determining what the mineral is!

Stay tuned! Next time I’ll take you through some beautiful scenes from the microscopic world.